Table of Contents
As users, we hate popups. We never click on them. They’re annoying. They get in the way. But as conversion rate optimizers, they just work. They produce results by making themselves very difficult to ignore, and believe it or not, people do convert on these. Good news, though — somewhere, somehow, someone was able to find a middle ground to this. It’s what we call “exit intent modals” or, if you prefer to sound Google smart, “exit intent interstitials."
(You’re more than welcome to skip my ramble and go straight to the code.)
In comparison to the intrusive popups that appear as soon as you visit a page (or in some cases, after a slight delay), an exit intent popup appears when the user shows an intent to exit the website (hence the name). This allows for the user to have a better experience on the website by not interrupting their visit until the very end when they’re ready to call it quits.
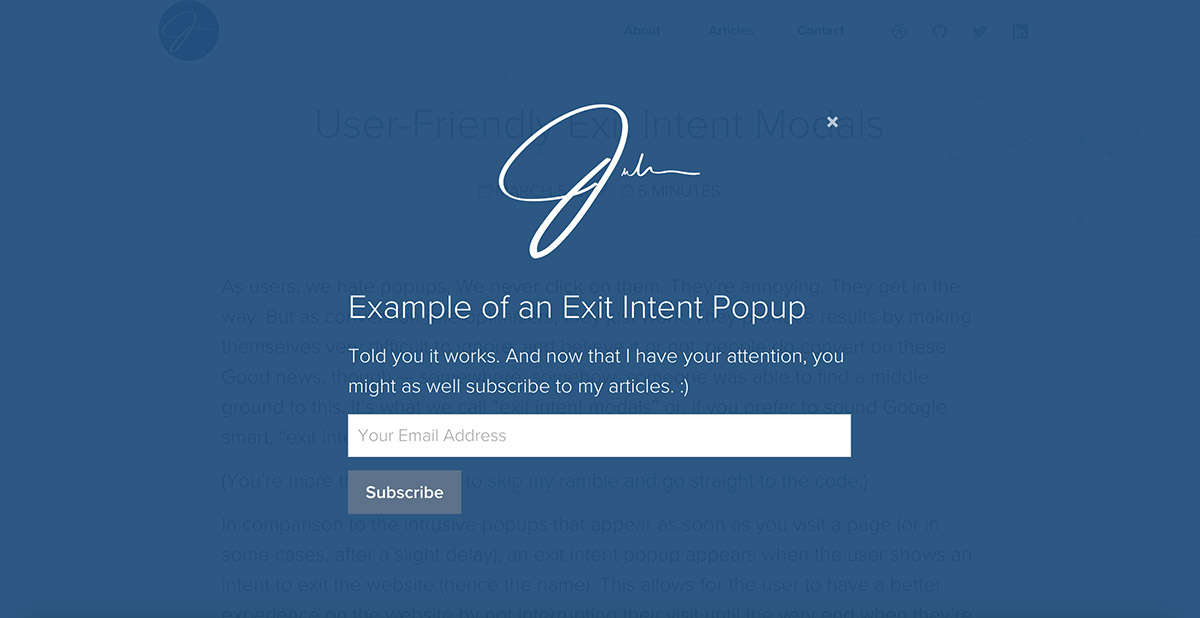
Now, just so we’re on the same page, I’m not referring to those popups you see on any of those shady websites you’ve been visiting (you know, the ones that are almost impossible to exit from). Rather, let’s focus on the simple modal that shows up before you leave the website — where you’re free to close your window without being prohibited to do so (or being repeatedly asked if you’re really, really sure). I’ve activated it for this blog post, go ahead and move your mouse off of the browser window.
It’s not magic. It’s not big brother. It’s not a crazy complicated algorithm that some tech scientist invented after years of not seeing sunlight. It’s actually a small, simple script that’s added to your website that detects when the user’s mouse hovers outside of the browser window. It’s usually an action someone takes immediately before exiting out of the tab or browser window.
(Bonus: Later on in this post, you’ll get step-by-step instructions on how to add it to your website’s existing lightbox/popup scripts, so keep reading.)
Even though this technique has been around for a few years, momentum skyrocketed when Google announced that as of January 10, 2017, websites would be penalized for the relationship between mobile searches and intrusive interstitials. The search engine giant has picked up on the poor UX these popups cause on smaller screens. The penalty only applies if the interstitial appears on a page directly after arriving from a Google-mobile search result. Nothing is stopping Google from moving forward with a full-fledged desktop initiative, so future-proof now.
All of these considerations and the careful planning is more than worth it — exit intent popups convert like crazy, and that’s what you’re here for, yes?
Okay, enough with the theory. Let’s get into practicality and implementation. Over the past few months, we at RPM have been doing some heavy testing on exit intent to see what yields the best results — take a look at some of our findings below:
A/B Test: Delayed Popup vs. Exit Intent Popup
We started off by testing a traditional delayed popup vs an exit intent popup. (Spoiler: The results threw us off a bit, but nonetheless, what we learned from this was pretty valuable.)
Variant A
Popup activates 5 seconds after the user initially visits the website.
Converted at 1.36% with 23 signups out of 1687 visitors.
Variant B
Popup activates once the user shows an intent to exit the website.
Converted at 0.69% with 12 signups out of 1722 visitors.
At a first glance, this seems like somewhat of a disappointment since the results did not align with our hypothesis of “by presenting the popup as an exit intent, users are more likely to convert.” But looking at the vital signs of the website, Variation B had a 4% improvement in website engagement and a 14% improvement in RFQs.
This was enough evidence for us to conclude that there was an overall improvement in the UX of the website to give exit intent method more attention.
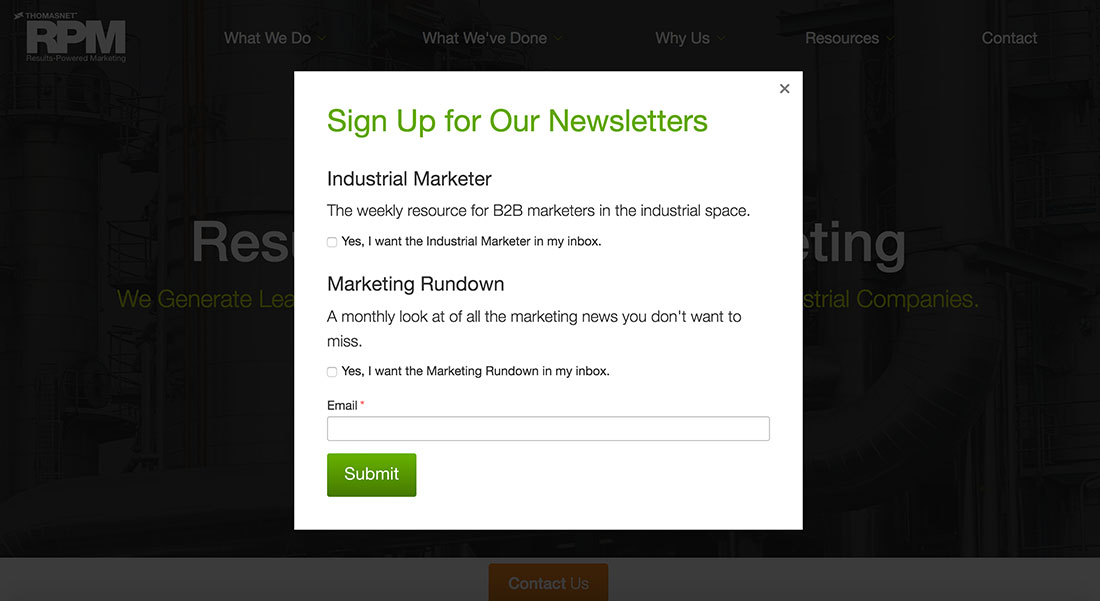
Multivariate Test: Strong Messaging + Multiple Offers
Armed with the knowledge of our initial test, we created a multivariate test of the exit intent with a strong focus on the messaging and offer.
The Control
No Exit Intent Popup; Website Converted at 7.02% with 88 leads generated (form submissions) out of 1,254 visitors.
Variant A
Single Offer
with Intro Message
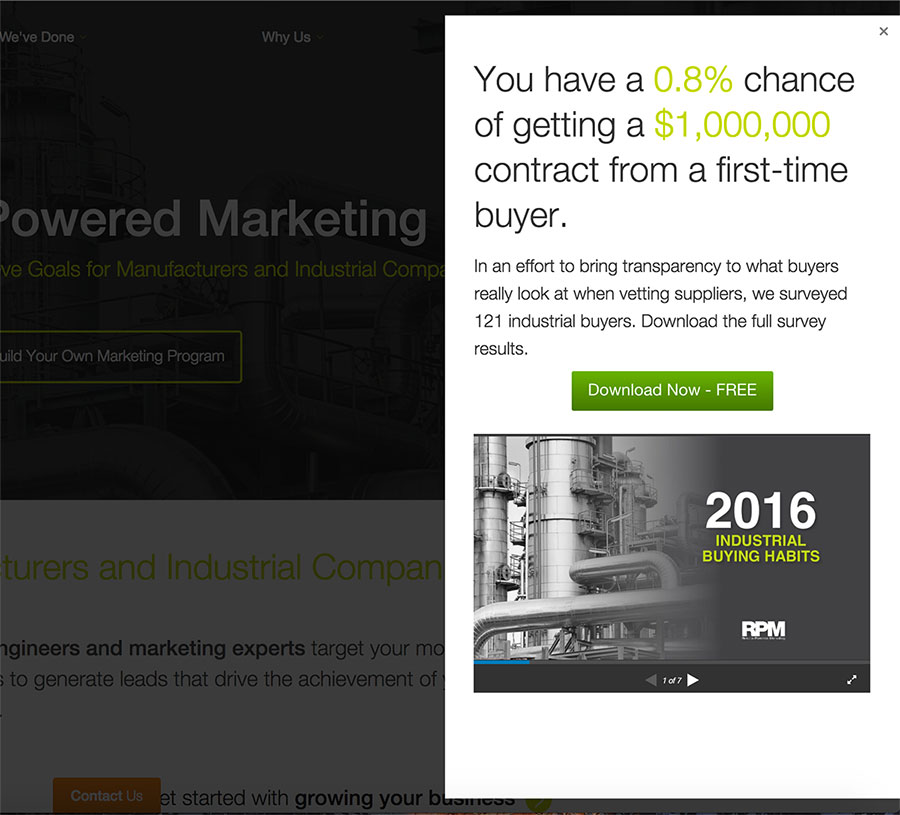
Website Converted at 8.59% with 108 leads generated out of 1,258 visitors (+22.3% Improvement).
Variant B
Top 3
Converting eBooks
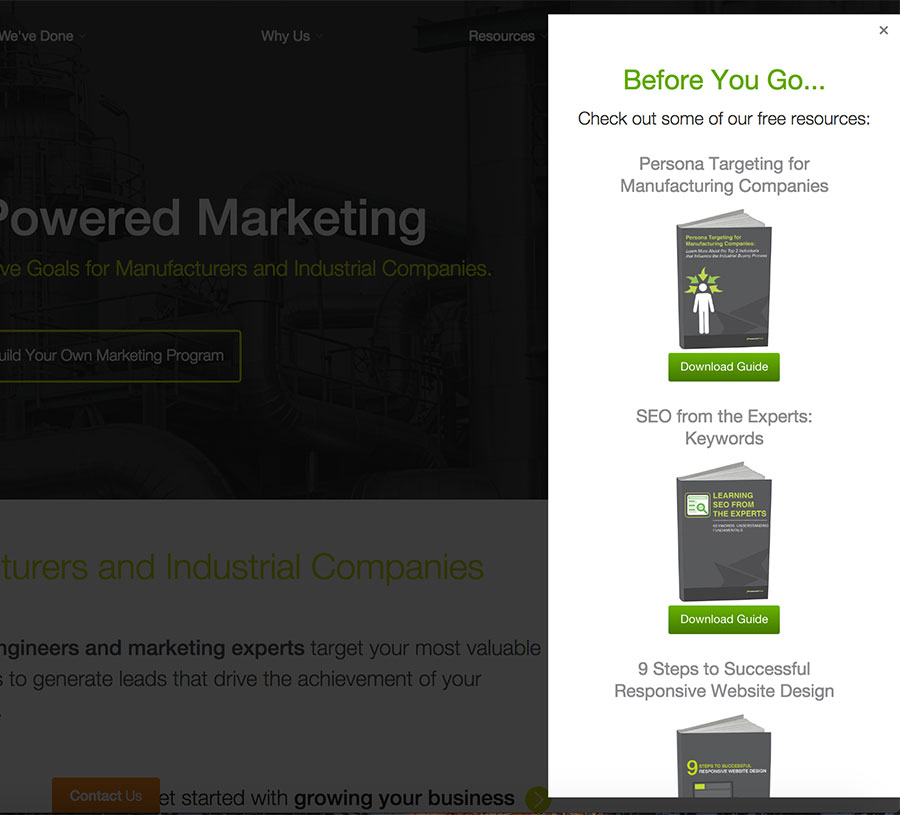
Website Converted at 8.14% with 109 leads generated out of 1,339 visitors (+16.0% Improvement)
Variant C
Single Offer w/ Intro
Msg + Top 2 eBooks
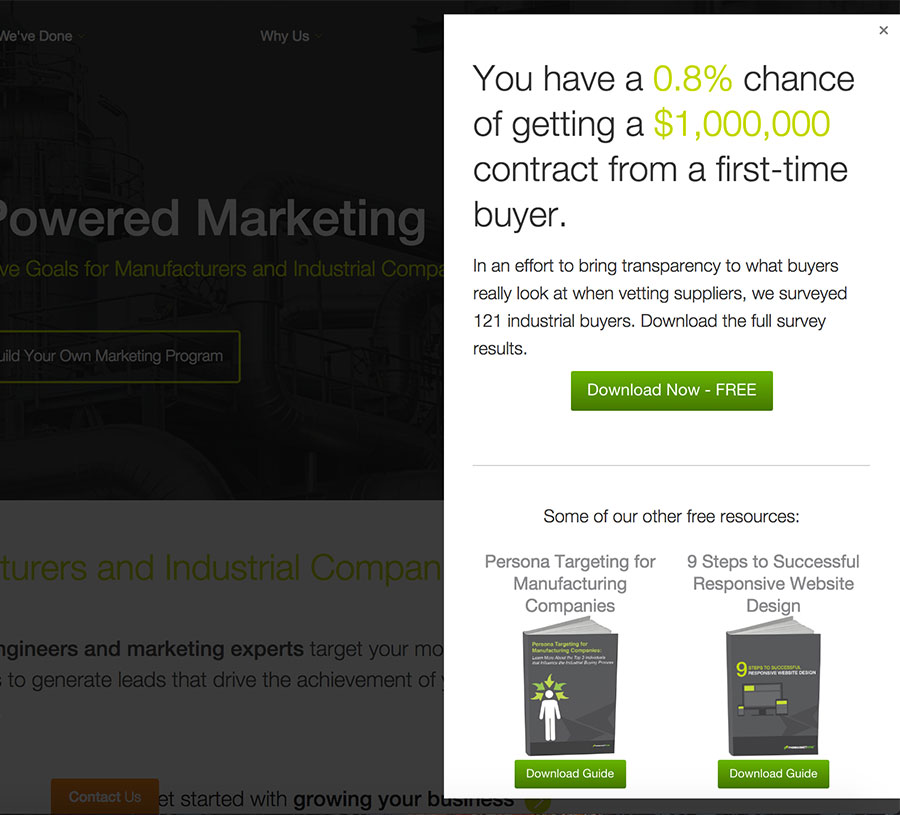
Website Converted at 10.12% with 127 leads generated out of 1,255 visitors (+44.2% Improvement)
We then tested multiple variations, and we’ve consistently improved conversion rates by +40%. Like I said, it works.
Pretty cool, right? Time to try it for yourself…
Code for Exit Intent Popup
This section is a geared a bit more towards developers, so if you're a marketer, simply share this section with your developer (or anyone who knows how to add JavaScript to a website). If you're still having trouble, reach out to me and I will gladly help out.
Step 1: Choosing a Lightbox Script
This could work with any script of choice, but over the years I’ve found Magnific Popup to be one of the most well documented, versatile, and lightweight popup scripts around. But whatever you do, don’t build a lightbox script from scratch, even though the concept is relatively simple, there are many intricacies to take into consideration in order to provide a good user experience.
Step 2: Adding the Exit Intent Listener
Once Magnific Popup is up and running, add the following code to your main.js — assuming all of your custom js code in a file similarly named file:
// Exit intent
function addEvent(obj, evt, fn) {
  if (obj.addEventListener) {
    obj.addEventListener(evt, fn, false);
  } else if (obj.attachEvent) {
    obj.attachEvent("on" + evt, fn);
  }
}

// Exit intent trigger
addEvent(document, 'mouseout', function(evt) {
  if (evt.toElement === null && evt.relatedTarget === null && !localStorage.getItem('exitintent_show')) {
    $.magnificPopup.open({
      items: {
        src: '#newsletter-form' //ID of inline element
      },
      type: 'inline',
      removalDelay: 500, //Delaying the removal in order to fit in the animation of the popup
      mainClass: 'mfp-fade mfp-fade-side', //The actual animation
    });
    //localStorage.setItem('exitintent_show', 'true'); // Set the flag in localStorage
  }
});
What we’re doing here is wrapping the Magnific Popup function in an event listener that will detect when the mouse is off of the browser window. Once this happens, the lightbox function will fire. We’ve gone ahead and added a localstorage flag (similar to a cookie) that gets set once the script fires; this prevents us from showing the exit intent to the same visitors.
Step 3: The HTML
But in order for it to fire correctly, it needs to call an existing HTML element on the dom. Here’s the HTML I’m using that contains my newsletter signup form:
<!--Delayed Popup-->
<div id="newsletter-form" class="white-popup mfp-hide">
  <h2>Subscribe to my articles</h2>
  <p>I promise I won't bug you much, just a heads up for whenever I publish anything new.</p>

  <!-- Begin MailChimp Signup Form -->
		(Form Code Goes Here)
  <!--End mc_embed_signup-->

</div>
<!--End Delayed Popup-->
Step 4: The CSS
Once this is all set, you can style it a bit with some custom CSS:
.white-popup {
  position: relative;
  background: #FFF;
  padding: 20px;
  width: auto;
  max-width: 500px;
  margin: 20px auto;
  > * {
    margin-top: 0;
  }
}
And now you have your very own exit intent popup. Congratulations! (Sorry, no “exit-intent technology” here — there’s no such thing.)
I’m curious to hear about what you’ve learned from this post, ways to improve patterns or how you’ve used popups. Don’t hesitate to tweet at me.
If you’re interested in optimizing the load time of your website, I recently wrote A Simple Baseline for Fast Loading Accessible Websites.

Subscribe to my articles
I promise I won't bug you much, just a heads up for whenever I publish anything new.

I'm Julian, a product design leader and developer with a habit for experimenting (I did some cool stuff at Thomasnet.com). I mostly write about what I'm working on related to product design, front-end development, and experimentation.
While you're here, I'm currently in the market for a design leadership gig. If you're interested in working together, hit me up, or feel free to share my resume.
Notes From the Field

Designing Multi-Sided Platforms
A comprehensive guide on designing the experience and growing the engagement of networked markets.

A Pragmatic Approach to Design Principles
How we took our design culture from executive-centric to user-centric with the help of pragmatic design principles.

Server-Side Split Testing for Static Websites
When to use, when to avoid, and setting up your A/B testing stack.

How We Adopted CSS Grid at Scale
From team buy-in to fallbacks, here's the approach we took at Thomas with the implementation of CSS Grid.

Don't Fight The Notch — Designing for the iPhone X
Coming to terms with the notch on the iPhone X and its effect on mobile design.

Lessons Learned After Running 300 A/B Tests on 20 Different Websites
Over the past 2 years I’ve dedicated part of my career to building a conversion rate optimization (CRO) team from the ground up. Here's what I've learned.